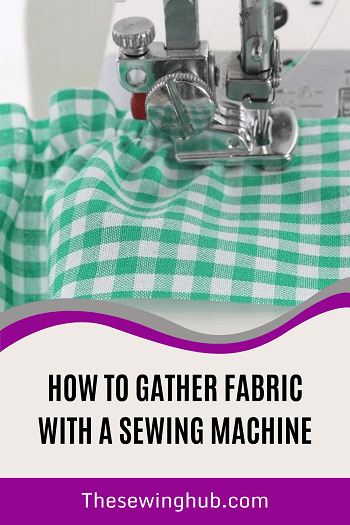
 The gathering is one of the sewing techniques used to create ruffles in projects like blouses, skirts, puffed sleeves, or other dresses.
The gathering is an art of bunching up the fabric to make it a little more ruffle-y. You can gather fabric either tight and frilly or more subtle and streamlined.
You can use the art of gathering on small projects like a pin cushion ring or bigger projects like a gathered crib bed skirt.
To stitch fabric with ruffles, you have to gather the edge and make it smoothly and evenly eased.
This task is not as simple as it sounds because many times, it is time-consuming and difficult to gather the edges.
If you want to learn to gather, there are many different techniques to learn this art. You will find some old-fashioned manual processes for this, but today I will share a method with you to gather fabric with a sewing machine.
I like this technique because it is not frustrating, like manual ways. I hope this method will help you to create perfect ruffles.
Let’s take a look at what you are going to need to gather fabric.
- A sewing machine
- A piece of fabric or garment
- Standard presser foot
- Straight pins
And that’s all. Now you can start the process.
Step 1- Set the length of the stitch on your sewing machine
You need to change the stitch length on your sewing machine to the longest possible (mine is 5mm) from a default setting (such as 2mm). This trick will help you to gather fabric more quickly.
Step 2-Use two different colors in needle and bobbin thread
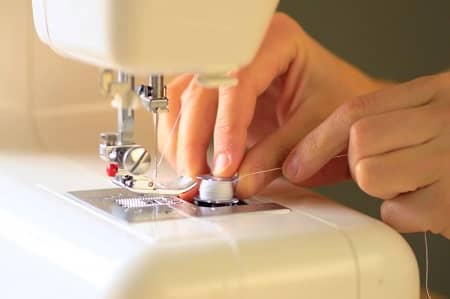
This is not necessary but a helpful trick to remind you which one is the bobbin thread. And you can slightly loosen the tension on the needle thread. This is optional, but you will thank me for this trick.
Now you’re ready for sewing.
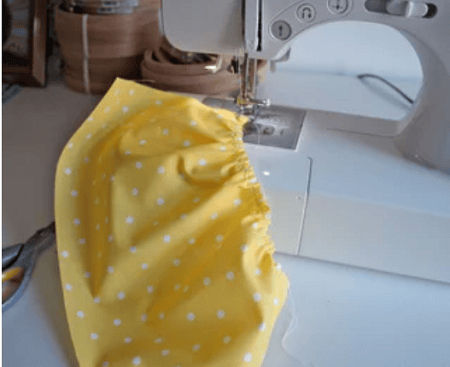
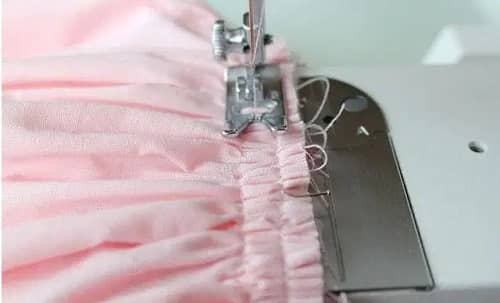
Step 3-Sewing
- Most machines have a mark of 1/4″ joint allowance. So, you can use this as your guide and sew one straight line 1/4 inch from the edge of the garment.
- You need to be focused on where to stop sewing. It’s better to stop sewing before getting off the fabric. You should try to stop and drop the needle about 1/4 inches from the edge of the garment.
- As you dropped the needle into the fabric and you see the presser foot is raised, you need to pivot the fabric to the right carefully. The bottom edge now will be on the right. You may have never done this before, but trust me, it is very simple.
- Now lower the presser foot of your machine and take only one stitch. Yes, only one 5mm stitch.
- When you are done with one stitch, you need to drop the needle as you did before. Then you have to raise the presser foot. After that pivot, the fabric to the right again as you did earlier. Now you are ready to sew a straight line parallel to the first stitch.
- The second stitch line will be exactly 5mm from the first gathering line, and the end of stitches will be closed. This will make the gathering line 3/8 inch from the raw edge.
- Now it’s time to sew a straight line parallel to the first stitch. Take care to sew parallel stitches that do not cross over. If they cross each other, it will create knots, and you have to start over. And if the lines get too close, then you will get uneven gathers.
- Lift the needle of your machine to the up position at the edge of the fabric. Then raise the presser foot and pull off the fabric from the machine. You must leave a long thread tail (minimum 7″-8″ long).
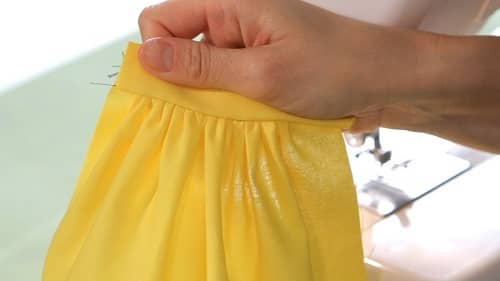
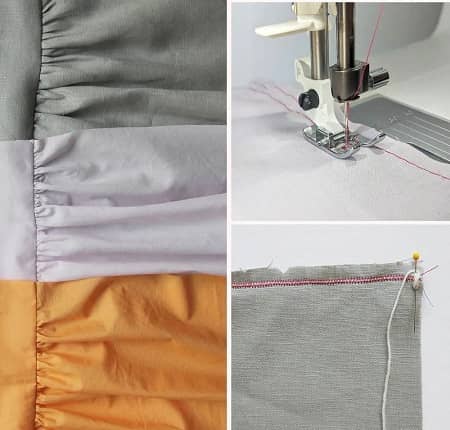
Step 4-Gathering
Gently pull the two bobbins (bottom) threads and form small waves or folds. Slide the gathers towards the position where you closed the stitching. For clean gathers, you must pull the threads evenly. Finally, press the gathers on the fabric with steam to make them ready to ruffle.
Addition Tips
- Use a strong thread, for example, Coats & Clark.
- To create ruffles evenly, before a gathering, find out the middle point of the ruffle by folding the fabric in half and marking a dot in the center of the fabric inside the seam allowance; then fold the half parts in half again and mark with another dot at the fold. When the fabric has gathered, the distance between the dots will tell you if you have evenly spaced ruffles.
- If you want to create evenly spaced ruffles during sewing, you can use a basting stitch to hold them in position. This can be done manually or with the machine using a long stitch and lowering the pressure of the machine’s feed dogs to let the pins and fabric slide more gently through the stitching area. Remember, too tight pressure will cause you to make the lumpy gathering. After basting, you can change the foot pressure to normal and pull out the pins as the basting stitch will hold the fabric ruffles in the right place.
- When sewing to make a ruffle to the garment, you should flatten out the fabric areas that will be in the side seams. By doing this, the garment will lie flat there, and the ruffle won’t get caught in the seam.
- You can make gathers by sewing by using a zig-zag stitch and carefully tugging the bottom thread. But you can make it with only one row of zig-zag stitches. You will also need to test the length and width of zig-zag stitches.
- If you are going to gather a very long section, you need to break the gathering into several smaller parts. This trick will help you to skip the frustration of breaking a thread.
By following this method and applying the tips, you will be able to make perfect gathers every time. As you created a closed-end of stitches, the threads will never be pulled, and you won’t lose your gathers.