People are always embroidering by using their regular or basic sewing machine. If you are targeting doing some monograms, you can do it with your regular sewing machine!
Besides, to make monograms on fabrics, you need to follow the steps you will follow to embroider with basic sewing machines. Follow our guide to make some monograms with your regular sewing machine.
Embroidery Hoop
You will need an embroidery hoop. You can buy it matching the size of the fabric you are going to make a monogram on. But, make sure you are not buying anything bigger than that’s bigger than 7 inches in diameter. Because you need to move the frame on the machine freely, so consider buying a hoop according to the size of the stitching area of your machine.
Stabilizer
You will need some water-soluble stabilizer. You can buy a sheet for smaller projects. If your project is bigger, you can buy a roll containing a stabilizer a lot in amount. Also, the rolls are expensive.
Tulle
It’s the material that will hold the monograms in their correct place after you rinse off the water-soluble stabilizer. Make sure you are buying a tulle that matches the color of the fabric.
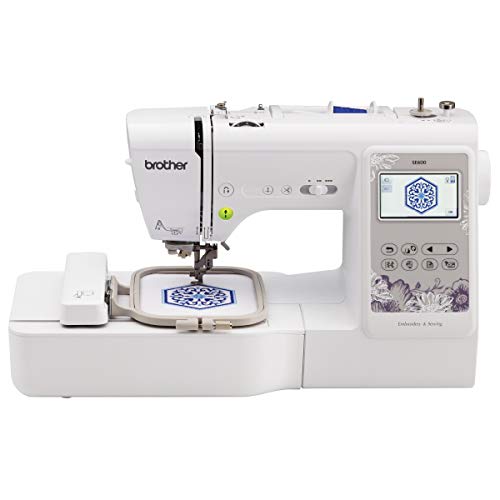
Presser Foot
You will need a quilting foot, so you can do the zigzag stitch to make monograms easily.
Step 1
Take the design for the monogram and place a piece of stabilizer on it. You can place some weight on the sides of the stabilizer, so it doesn’t move a lot when you are trying to transfer the design.
Now, you need to draw the design on the stabilizer with a smooth marker. Use a marker that will help you to see the design clearly. Go slow with the design so you can make some nice monograms.
Step 2
Now, cut two pieces of tulles. You need two pieces of them to use on both sides of the design. Also, it will help the design to stand better on the fabric. So, place the tulles on both sides of the stabilizer. Be patient in this stage.
While you will be trying to place them together with the stabilizer, they will be sliding here and there throughout the process. Make sure the edges of the stabilizer match the edges of the tulles.
Step 3
Now place the fabric on the tulles and stabilizer you want the monograms on. Then, even out the stabilizer and tulles with the gentle touches of your finger on the fabric. Next, you need to place them on the embroidery hoop. It can be a little tricky to put all the layers nice and smooth in the hoop. Try to do it patiently.
Tighten the hoop a little bit at the end of this process; tug the layer from the outside of the hoop to get the right tightness in the middle of the hoop. Make sure it’s not too bouncy in the middle.
Step 4
Now, it’s time to set up the machine for making monograms. The first thing you need to do here is, take the quilting foot and put it on the machine. Your machine must have come with a flat-head screwdriver; you can use that to take the foot that you already have on your machine.
Step 5
Once the quilting foot is on the machine, you need to lower the presser foot to tighten it to the needle stand. The foot doesn’t need to touch the throat plate directly; you need to take it as close as possible to make sure it’s in a flat position.
Step 6
You need to lower your feed dogs. Otherwise, you can’t embroider. If you don’t have the option of lowering the feed dog on your machine, you can buy a rubber cover to avoid the feed dogs.
Step 7
Next, you need to thread your machine. Make sure you use the same color of threads for the lower and upper threading. Once the machine is threaded both ways, you need to push the needle down for once to add both threads.
When the needle comes out with the lower thread, take both threads’ left sides. You can have a little difficulty while collecting the lower thread as the pressure is a little too much lowered. Make use of some needle or scissors head to collect the thread properly. Also, if the threads look longer, you can trim them off a little bit.
Step 8
Now, the hoop needs to go under the needle and quilting foot. It will little hard to set it under the foot, as it is lowered. Hold the foot as high as you can with your fingers and with a shank, then angle the hoop under the foot.
Step 9
Next, select the zigzag stitch. You should change the width to 3.5 and a length of 1.5. Now, if your machine doesn’t have these features, you have no reason to be upset about it. All you need to do is to be precise and go slow while you are handling the zigzag stitching style. Also, when you are slow, you will have more control over the process.
Step 10
Now, you can start stitching the monogram over the design in the back and forth motion. You need to adjust the stitch width small when you reach a narrow edge or when you reach a wider space of the design of the monogram. In the process of stitching, if you think you need a little more stitch in certain places, you can run the needle over those places again.
Step 11
After you finish the monograms, you can rinse the water-soluble stabilizer and cut the tulle off the fabric. Then, wait for your fabric to get dry so you can see the final result of excellent monograms on the fabric.
We hope you become really happy with the final result of making the monograms. If you are not satisfied, you can always try again.