There are two major types of sewing machines. The common ones found in homes for sewing hobbyists are domestic machines and are known for their versatility.
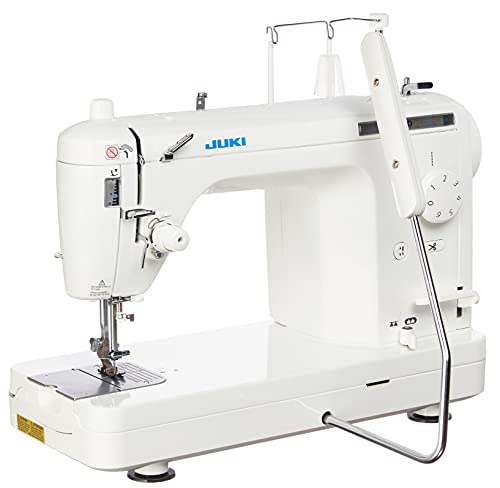
Although more powerful, industrial sewing machines are specialized machines that are meant to perform specific types of stitches.
This means that in a typical industry setting, you would have an assembly line of different types of industrial machines, each performing its type of stitch on the product being made and leading to the final, finished, stitched product.
However, before using it, you have to thread it first, which is not a very complicated job. You simply have to do the following:
Fill the bobbin
Using the same thread that you will use on the top threading, place this thread onto the spool pin and run it through the top thread guide, then through the thread guide at the rear of the machine and its tension disc, and finally into the bobbin.
Tie the string into the bobbin and insert it into the bobbin winder then engage it to the machine so that it can wind the string onto the bobbin when you press on the foot pedal.
Disengage the needle and foot
Before pressing on the foot pedal, ensure you disengage the needle from the machine so that it does not cause any accidents in case someone places his/her fingers unknowingly under the presser foot.
It is also important to remove both the needle and the presser foot because they might break if something hard is accidentally placed under them. After this, run the machine and wind the bobbin until it is full.
Load the bobbin
Just like in a domestic machine, the bobbin should be loaded into the bobbin holder. However, loading into an industrial machine is slightly different because the thread should point towards you. For domestic machines, the bobbin thread should point away from you, and you should differentiate between the two so that you do not make a mistake.
If you load it properly, it should turn counter-clockwise as you pull the string. This is also different from the domestic one because its loaded bobbin turns clockwise on pulling the string. After checking this, insert the bobbin into the machine.
Thread the machine
The upper part of the machine is threaded by passing the thread through the various thread guides and string tensioners, which are usually labeled orderly using a numbered guide.
The purpose of these guides and tension discs is to slow down the thread movement while maintaining tension on them so that it does not entangle before reaching the needle. At this point, you can insert the foot and needle back to the machine so that you can thread the needle.
Thread the needle
After passing the needle through the last guide, the next thing would be to insert it into the needle eye from left to right if the machine has a needle threader, lucky for you. If not, you have to insert it manually, which might be a bit strenuous if the string has a rugged end.
Pull up the bobbin thread
With the needle threaded and the bobbin in place, lower then raise the take-up lever once using the handwheel. Once this cycle is complete and the take-up lever is raised to its highest position, you will see the bobbin string looped around the needle string, and this should be pulled out and separated, leaving you with a perfectly threaded industrial machine.
Conclusion
This process is quite similar to threading a domestic sewing machine and, therefore, quite easy if you are conversant with such. You only need to be keen when loading the bobbin so that you do not load it in reverse because this will not work properly when stitching your fabrics. All in all, it is quite a simple and straightforward process if you use this guide.