Making one or two mistakes when learning a new skill is quite inevitable and forms part of the learning curve.
That’s not to mean that even the most skilled wouldn’t make mistakes because getting it wrong now and then is quite commonplace. When using a sewing machine, you are bound to experience one or two mishaps ranging from breaking needles and bunching thread to skipping stitches.
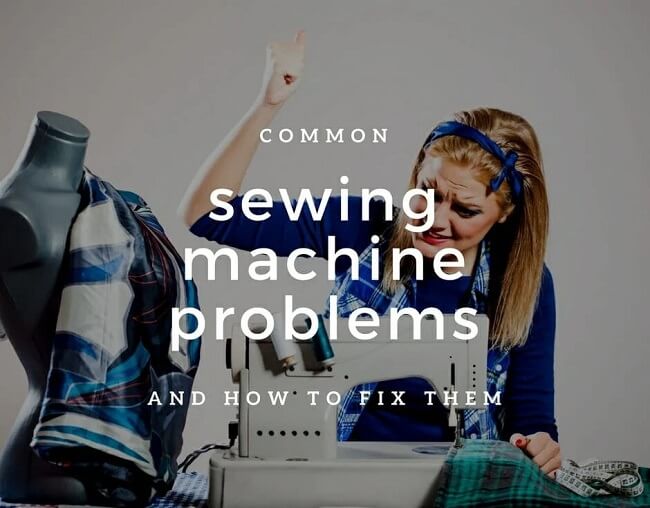
It’s to be expected that the sewing machine will act up every now and then and have a problem, especially when you badly need to use it. The good news is many common sewing machine problems can be easily solved on your own without feeling the necessity to run to the repair shop.
Whenever you here that annoying whirring sound from your machine, just know that it’s time you grabbed your manual so that you can review it for troubleshooting steps.
Actually, the fun part of a sewing machine is to complete our creative inspiration and not in any way, fight it. If you do not have the manual for your model, consult your manufacturer and request one or buy it online before you start on your troubleshooting just to be safe.
Below are some of the common sewing problems and how exactly to solve them.
Machine not sewing
If your machine fails to sew or even start, the most common points to check are the needle and thread just to ensure that they are working properly.
- Threading the Machine
Use the manual instructions to confirm that the machine is properly threaded. It’s always important to remember that, whenever threading your machine, ensure that the presser footer is up so as to release the tension, and once you are done, put the presser down so that it can apply tension to the thread.
- Sewing Machine Needle
Ensure that the needle is properly locked, and it’s facing the required direction that is the flat side of the needle facing away from the bobbin insertion point. This is to see to it that the thread is picked up by the hook when sewing.
- Fabric not feeding or it’s jamming
Feed dog and presser foot come with raise and lower options. Ensure that you have set them at appropriate positions with the presser foot not too high because the pressure wouldn’t be enough; thus, the feed dog fails to do its job.
Also, the presser foot shouldn’t be too low because the pressure might exceed preventing the fabric from feeding; hence jams will be encountered. See to it that the feed dog is at its appropriate position when sewing, and if it feels jammed, maybe it will be time for some maintenance because it might be due to debris or lint.
Bending or breaking Needles
This is such a common mistake, and it may happen as a result of hitting a straight pin, using the wrong needle, forcing the fabric through the feed, or prolonged use, and it is just unpredictable since you can never tell when it will happen.
It’s important to note that when you force the fabric instead of letting the feed job do its work, it can bend or break the needle. It is, therefore, very paramount that you use the right needle for the fabric you are using.
Needles are sized from 8 to 18, depending on their use. A size 9 or 11 would work best for delicate, lightweight fabrics such as silk, organza, and chiffon, while size 14 would work best for medium-weight fabrics like flannel, synthetic suede, and linen. In the case of denim and leather, get the specialty needles like size 16 or 18.
Skipping Stitches
This majorly results from using a bad needle that may be bent or damaged or one too small for the fabric you are sewing hence hitting a straight pin or forcing material through the feed.
But when the problem keeps recurring, then it’s probably due to the sewer forcing the fabric instead of allowing the feed dog to pull the fabric with the sewer, only guiding the fabric into the feed. Needles should be replaced every 16 hours of stitching.
Sewing Machine thread bunching, tangling, or breaking
For ease of operation, then the thread has to co-operate, but luckily, most of the thread troubles are very easy to fix.
- Thread Looping and Bunching
If the problems are on the bottom side, then they are quite typical with upper threading, and if they are on the top of the fabric, then they are as a result of bobbin threading.
All thread issues can be solved by rethreading your machine since even just the slightest bump can affect your stitching.
If you fail to thread the machine with the presser foot up, then it will fail to have enough pressure to allow for sewing. Also, just confirm there is no debris or lint, the moving parts are lubricated, and the needle is not damaged.
- Thread Breaking
This is more of a thread problem than a mechanical problem. This indicates that your thread is not of high enough quality for the tension or type of sewing that you’re doing. Remember that most branded threads though expensive, are of a higher quality than unbranded threads.
Also, check the paths through which the thread travels and ensure it’s free from nicks, sharp points, and burrs that would probably cause a snag or break.
- Tension adjustment
Review the manual for tension specification just in case of a recurring problem. The user can adjust the upper tension but ensure that it remains within the range.
Intricate tension problems with bobbin threading should be repaired by a professional. Consider using different color threads for the bobbin and upper threading so as to easily figure out which area is most affected.
Mechanical Noises and Maintenance
If your sewing machine has some unusual noise such as banging or grinding, then the parts are most probably jammed and need some maintenance and cleaning.
Turn off the power and inspect the machine to find out where exactly the problem is. Clean the dust, debris, and lint with the help of a brush.
You can also lubricate the moving parts using the manual instructions and check out for loose screws and ensure that they are tightened. With proper maintenance, the machine must be able to perform seamlessly, but if it fails, then consult a professional.
Final Verdict
Most of the sewing problems that are common can be easily solved by regular maintenance of the machine. It’s just about going through the manual and figuring out where exactly the problem is but if your basic troubleshooting tips fail to work, then consult the experts for more professional inspection and repair precisely with the tension nightmare or time.
If you keep using the machine even after finding out that it’s not fit might just lead to continued wear and tear that can get irreparable hence an expensive affair.
This is some really good information about how to fix common sewing machine issues. I know that I would want to make sure that I don’t accidentally break my machine while trying to fix it. I didn’t’ realize that there could be a tension issue. Something like this might need a professional to do the repairs.