In sewing, basting or tacking is long temporary stitches intended to be easily removed, sewn by hand, or by machine. Basting is used in different ways:
- A basting stitch is used to hold a trim or seam temporarily in place until it is permanently sewn.
- An X-shaped basting stitch is of the common basting on the kick pleat’s bottom on a woman’s skirt or at the back vents of men’s suit jackets. They are used to hold the flaps in position during shipping and at the time of displaying in the store. Though maximum buyers do not pay attention, these stitches should be removed from clothing after purchase before being worn. Brand labels that are loosely basting on the outer edges of the sleeves of women’s winter coats or men’s should also be removed before being worn. They are meant to help buyers to identify the brands quickly in the store without searching into the collar.
- It is also used temporarily to add a ruffle, lace collar, or other trim to the garment so that the added part can be removed easily to be worn with different clothing or for cleaning. For this purpose, basting stitches are sewn in such a way so that they are not seen from the outside of the clothing.
- Basting is also meant to mark a particular point where more than one piece of fabric should be joined or transfer the markings of pattern to fabric. This is done by stitching a particular loose looped called tailor’s tack. This technique is also done by using two different layers of the same material; hence at the time of shipping the threads between the layers, the stitches on both fabrics will be in the same place. And this will save the time of basting the other layer and chalking.
- While regular sewing stitches, basting can hold the slippery fabric together in place.
As it is easy to remove basting stitches if the fabric does slip out of place or to eliminate extra bulk, it is a standard technique used by many people. There are two ways of basting: by hand or by sewing machine. Now I am going to show you how to make a basting stitch with a sewing machine.
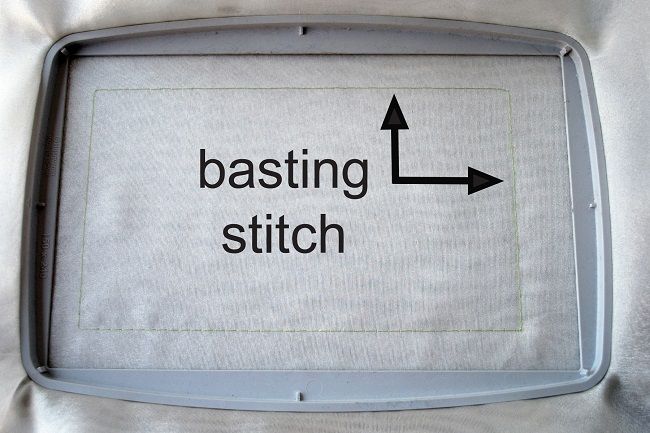
How to Machine Baste
The first question you may ask, “If my machine is capable of creating basting?” Don’t worry; all sewing machines can create basting stitch.
Basting through a machine is a fast way to temporarily hold fabrics together in place or to test the fit of an area such as sewing in a zipper. Let’s know how to do it:
- Start with setting the stitch length of the sewing machine to its longest setting.
- Next, carefully pin the fabric together.
- Now sew slowly and make any adjustments if you need it.
- Recheck the shape or fit.
- Be careful and do not backstitch as it will make the job harder to remove the basting.
- You can use the bobbin thread both in the bobbin and upper thread when you see the thread is meant to leave marks on the fabric.
- Don’t forget to adjust the stitch length to a normal position (usually 1.5 – 2.5 mm). Then you can sew the permanent seam.
- Finally, remove any part of the basting that shows on the garment’s exterior.
Few More Tips For You While Basting
- Make sure you are using basting only on fabrics that are not going to show holes. For example, you shouldn’t use basting stitches on leather because, in the final product, the basting holes would show.
- Basting is significantly useful on silks, velvet, or other kinds of fussy fabrics that usually shift while sewing.
When You Should Use a Basting Stitch In Your Sewing Projects
Garment Fitting:
A basting stitch is often used in garment sewing for appropriate purposes. It’s recommended to fit a garment before final sewing; it is essential if you’re not familiar with the design or fit of the pattern. Using the basting technique makes the process easier and quicker because this stitch sews quickly and can be removed more easily.
Quilting:
If you want to use a quilt as a layer before the main quilting, you always have to baste the layers first. This will hold the layers together in place to eliminate any moving of the quilt top. These basting stitches are created across the entire quilt and removed completely later.
Home Decor:
When the trim is meant to sew into a pillow’s seam, it’s always a wise idea to baste the trim first to one side of the pillow. When you take the two sides of the pillow together for final sewing, you will work with only two layers, not three. It also eliminates the worry about catching all layers of fabric evenly as you sew. This kind of basting is created inside the seam allowance.
Zippers:
Basting zippers allow you to make sure that the zipper is positioned correctly. It also makes the process more accurate and easier because you don’t need to worry about removing pins. [/su_box]
Removing Basting Stitches
Always be careful when you are going to remove the basting stitches. You should loosen the stitches carefully with a seam ripper. Do not try to plow the seam ripper between the fabric layers; it increases the possibility of ripping through the garment.
Final tips for you, if possible, remove the basting stitches before pressing the fabric to prevent pressed-in stitches. And there you have done it; now you are also an expert in basting!
Do you do the final stich on top of the basting? Where does the final stich go if I basted all the edges 1.5cms in. as close as I can inside the seam allowence, or the other side? This is my first time making a party dress, using taffeta and organza.